# Unity Quick Start (Legacy SDK v2)
This guide will show you how to integrate the Frameplay plugin into your Unity project.
We officially support:
- Unity 2018.4 or higher
- PC, OSX, iOS, Android and WebGL platforms
# Prerequisites
To get started you must first have created:
- A Game Developer Account (opens new window) on the dashboard.
- And a New Game (opens new window).
# Getting started
# Download and Import the Frameplay Unity Plugin
To begin, download and import the Frameplay SDK.
- Download the latest version of the Frameplay plugin from the downloads page (opens new window)
- Open your project in the Unity editor.
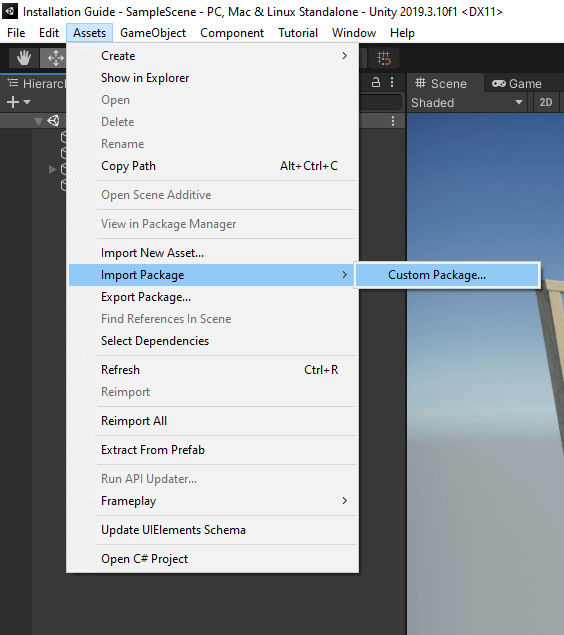
- Select Assets > Import Package > Custom Package and locate the FrameplayPlugin.unitypackage file you downloaded in step 1.
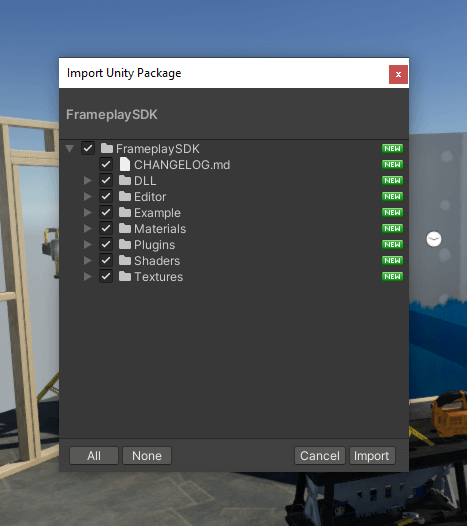
- Make sure all files are selected and click Import.
# Setup the Frameplay Developer Settings
The Frameplay Developer Settings is a Scriptable Object that maintains the link between your Unity project and the Frameplay Developer Dashboard.
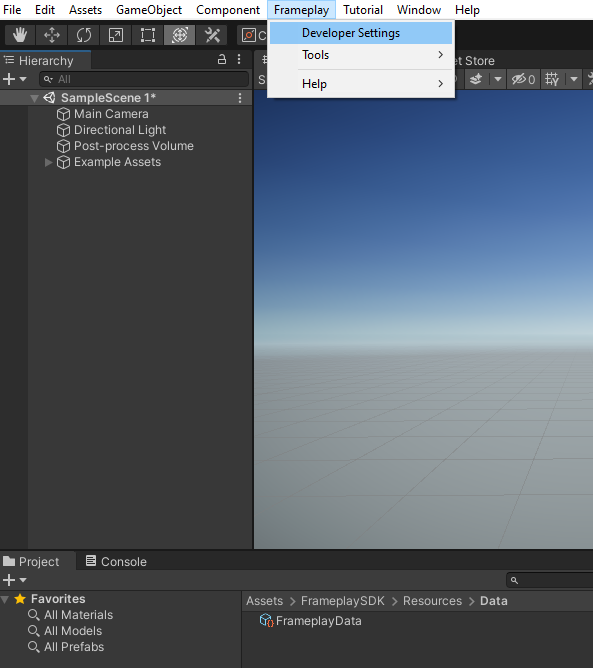
- Select the editor menu Frameplay > Developer Settings
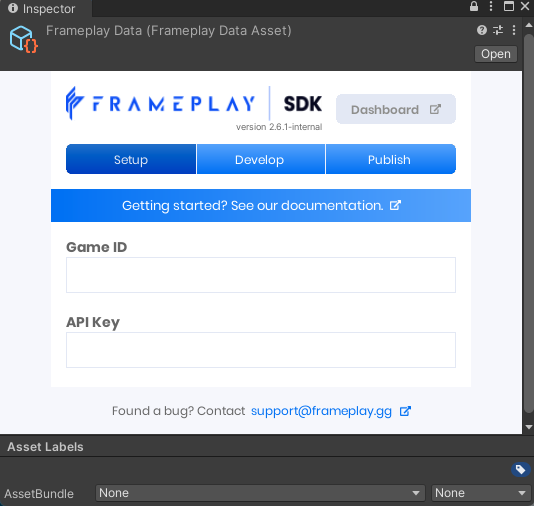
- In the Inspector Window set the Game ID and Developer API Key with the corresponding values found on your Game Page (opens new window).
- Save the changes to the asset by selecting File > Save Project.
# Initialize the Frameplay SDK
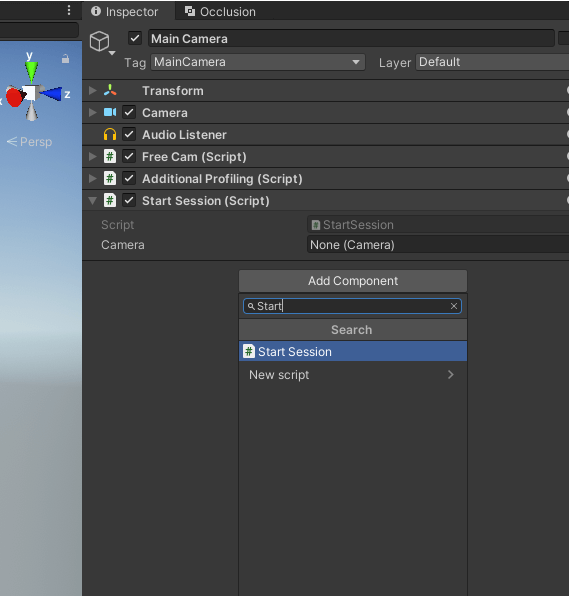
Loading ads at runtime requires a Frameplay session and game camera. We have provided an example script called "StartSession.cs" that includes this functionality.
- Select an active object in your Scene.
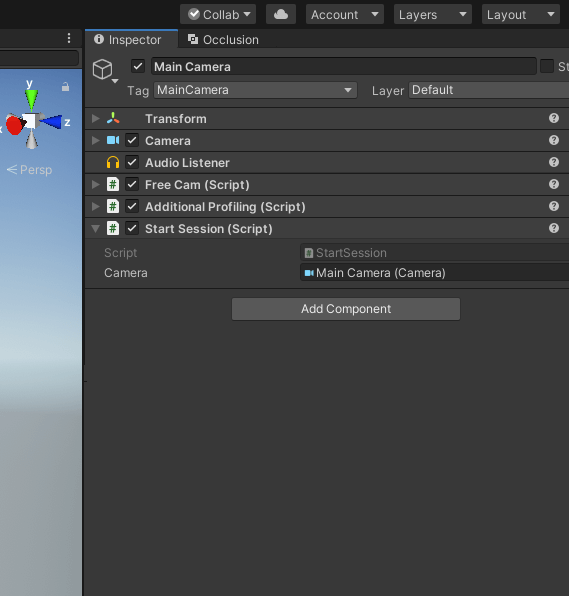
- Click Add Component in the Inspector Window and add the "StartSession.cs" script
- Add a reference to your Camera Object. This is usually the Main Camera.
You can drag the Camera object from the Hierarchy Window or search for it using the Object Picker.
Read more about the Frameplay Session and API here
See the
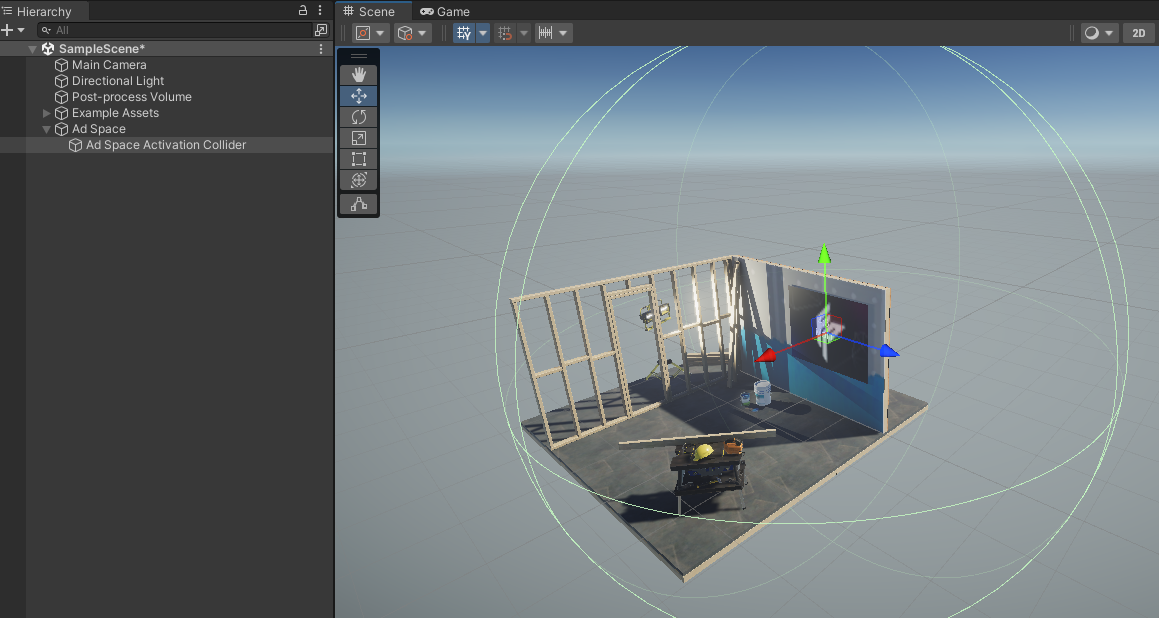
# Create an Ad Space
Next create a Frameplay Ad Space and configure it to fit your game environment.
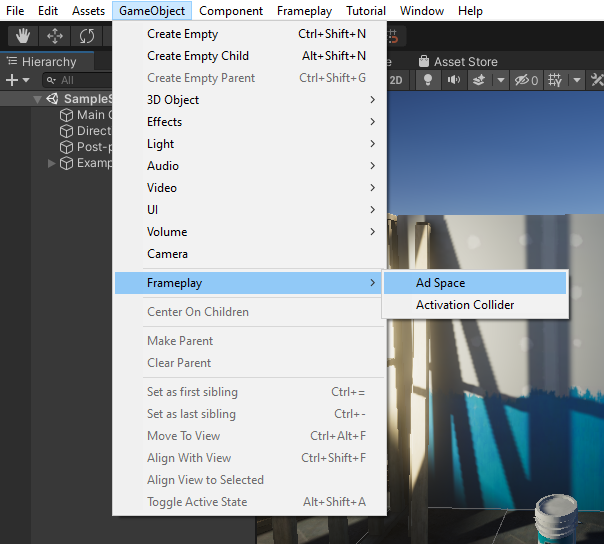
- Select GameObject > Frameplay > Ad Space to create a new Ad Space Game Object in the active scene.
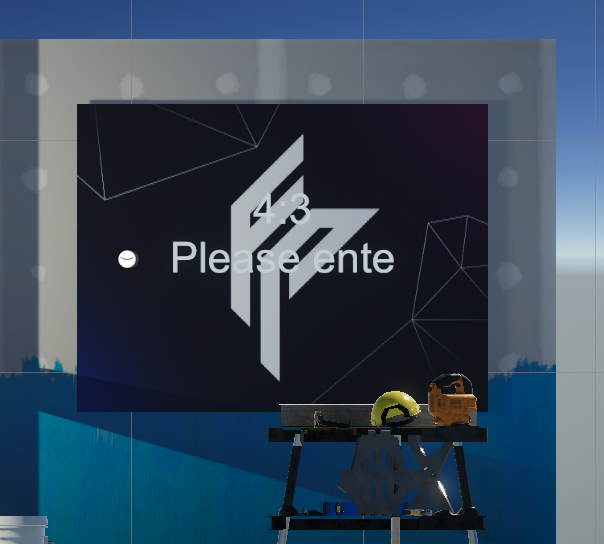
- Pick your preferred ratio
- Reposition and scale the Ad Space to fit the Scene.
- Select your own Placeholder Material to display before an advertisement is loaded. See our Developer Guide for best practices.
If your project uses a Scriptable Render Pipeline additional steps may be required. See here for more information.
# Load Mock Ads
Click Play. This will trigger the Frameplay session to start and load a mock advertisement.
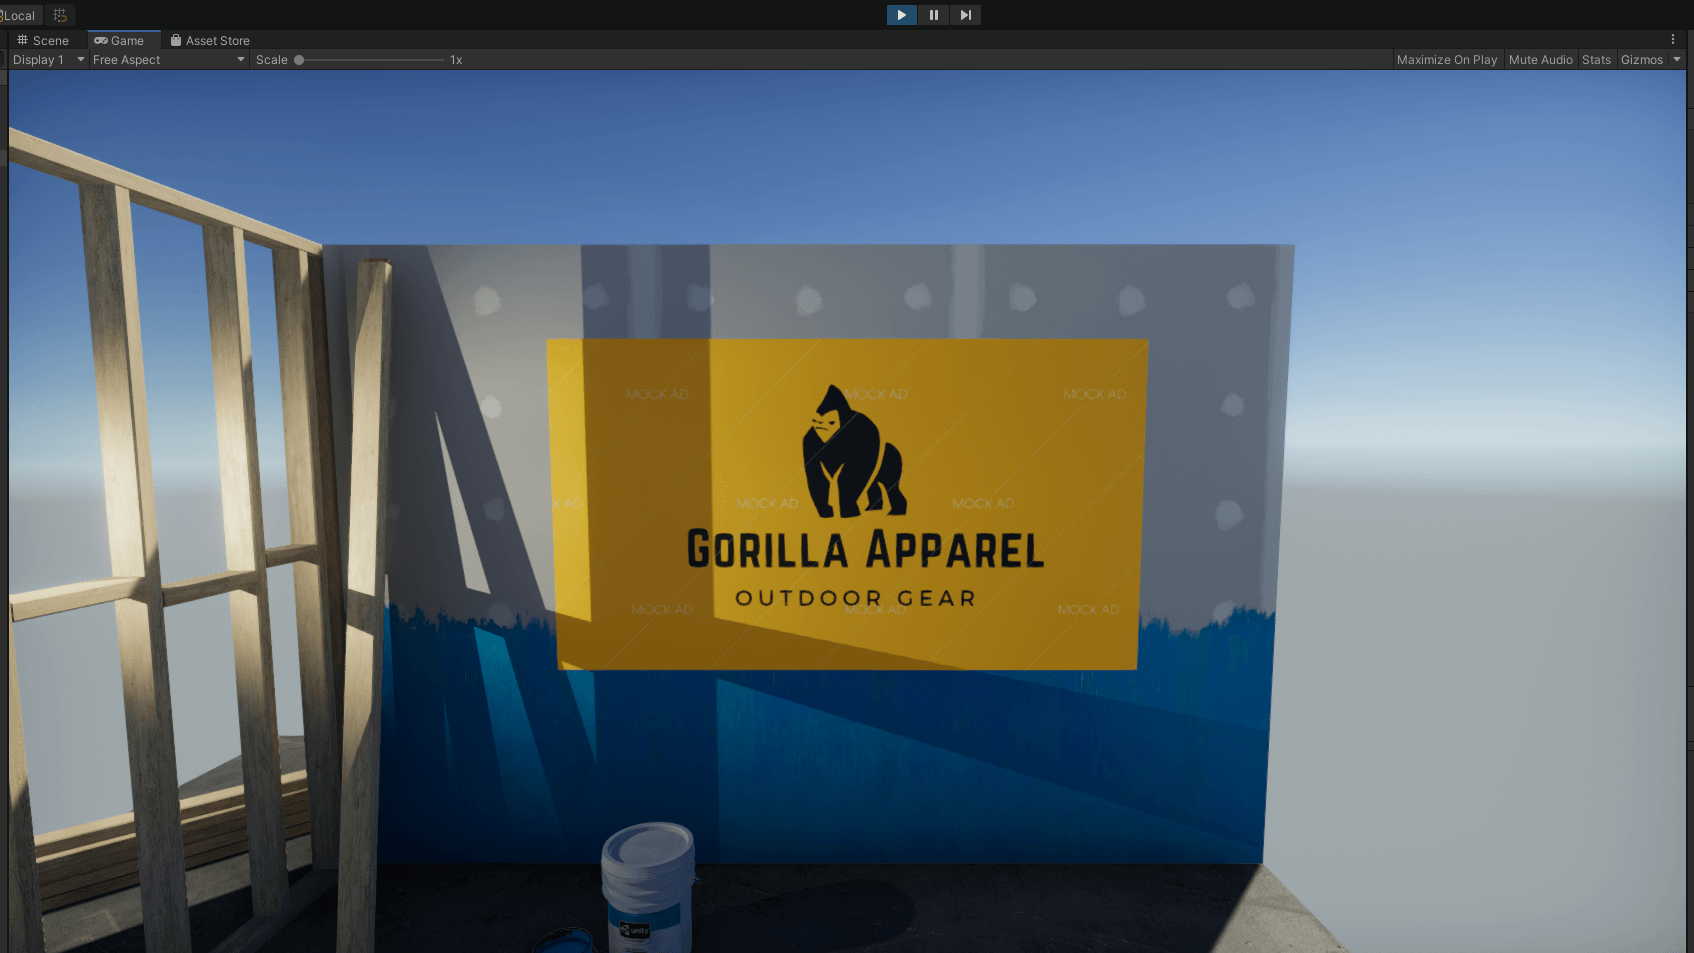
Congratulations! You have created your first intrinsic advertisement.
# View Impression Data
Sessions started in-editor and in development builds will automatically run in Test Mode and mock advertisements will be used.
Impression data gathered in Test Mode will display on your games Test Dashboard (opens new window) and will not generate revenue.
# Android Deployment
If you are building for Android, the External Dependency Manager (EDM) is needed to resolve Android dependencies.
- Import External Dependency Manager (opens new window) into your project.
- Select Assets > External Dependency Manager > Android Resolver > Force Resolve.
If your project already contains the External Dependency Manager, there is no need to import again.
# Publishing Builds
Before monetizing your final build, you must first submit your account and game for approval on the Frameplay Platform:
- Submit Developer Account for approval (opens new window)
- Submit Game for approval (opens new window)
Please allow 48 hours for approval. Advertisements will not load in Production builds until both your account and game is approved.
To create a final build select File > Build Settings, confirm Development Build is not toggled, and select Build.
At this time our integration team will contact you and notify once approved.
See the
# Best Practices
We highly recommend you check out the Best Practices Guide to maximize revenue, impression quality and user experience!
# Troubleshooting
If something went wrong during setup, check the Console Window for warnings (Ctrl+Shift+C on Windows, or Shift+Command+C for Mac) or visit our FAQ page.